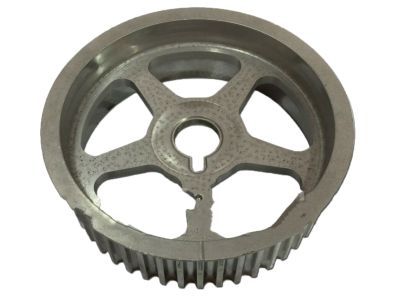
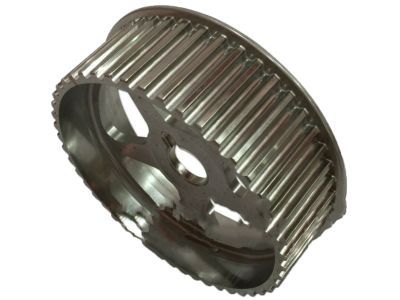
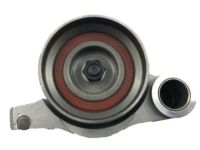
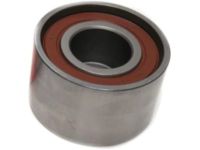
This timing system is complicated, and if an individual get it wrong the engine is severely damaged and for this reason, it is recommended that only people with advanced mechanical knowledge should undertake this procedure, and if there is any doubt in ones ability, one should seek assistance from a professional mechanic. The procedure is best done with the engine and transaxle assembly removed from the vehicle, so this is suggested. Start with the engine/transaxle assembly then demount the drivebelt and tensioner and lastly the idler pulleys. With the engine at TDC, torque converter Locked and disconnected from the starter, remove the crankshaft pulley is carefully for avoiding damage using proper tools. Next, take off the valve covers and for some of the engine models, take off the timing chain cover bolts and the oil cooler assembly, if required renew the gaskets. Take off the water inlet and outlet and in some models of the engine, the mount bracket of the engine and camshaft timing control solenoids. After that, you have to take the timing chain cover off and having opened it carefully take out the previous crankshaft seal while staying attentive to different bolts in order not to mix them up. Check to ensure that the piston in the No. 1 cylinder is nearly at the T.D.C. position on its compression stroke, if not do crank the engine until the timing marks align. To disassemble the chain tensioner, turn the lock collar to the retracted position, then take out the chain tensioner slipper together with the squeeze-in vibration damper for the timing chain tensioner, and for some models, align the timing mark before removing the No. 1 timing chain but do not rotate the crankshaft during this process. Check also the wear and damage in all parts of the timing chain assembly, the timing chain stretch, the sprocket diameters as well as the oil clearances. Check that the chain tensioners work. During installation, ensure that turn the crankshaft by hand and you should feel some form of resistance, you should then lock the tensioner plunger and using the position of the yellow links and the timing marks, you run the timing chains and fit the chain guides. Crankshaft timing sprocket must be installed along with idler sprocket and the alignment of timing marks also needs to be examined. Once more take greater care to turn the crankshaft regarding the vin of car, take out the old RTV sealant, fit the new crankshaft oil seal and 'O' ring, and lastly apply the gray RTV sealant on the timing chain cover. Place the cover before its periods of validity expires to guarantee the proper sealing, and tighten tightly all the bolts in the correct manner; the procedure should be done in reverse to the removal process. Last but not the least, pour fresh oil and coolant into the engine, connect the battery terminals, and crank the engine to see if there is any leakage.
Posted by LexusPartsNow Specialist 

