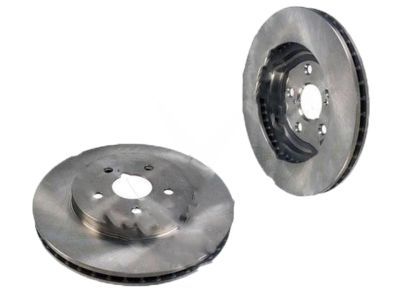
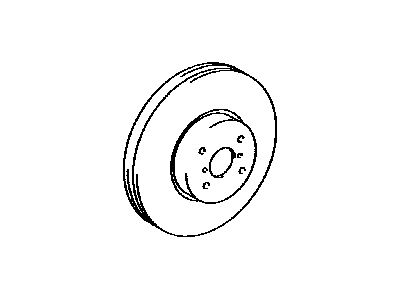
To inspect the brake disc, start by loosening the wheel lug nuts, raising the vehicle securely on jackstands, and installing the wheel's lug nuts to secure the disc. If working on the rear brake disc, release the parking brake, and if the vehicle has electronically modulated air suspension, ensure the height control switch is turned off before raising it. Proceed to remove the brake caliper, without disconnecting the brake hose, and use wire to suspend the caliper away from the flexible brake hose, securing it to the strut bracket. Remove the caliper bracket mounting bolts and the bracket itself. Visually examine the disc surface for score marks and damage, noting that light scratches and shallow grooves are generally normal, but deep scoring exceeding 0.039-inch (1.0 mm) requires disc removal and refinishing by an automotive machine shop. This assessment should be conducted on both sides of the disc. In cases of brake pedal pulsation, suspect disc runout. To check disc runout, employ a dial indicator positioned approximately 1/2-inch from the outer edge of the disc. Set the indicator to zero and turn the disc, ensuring that the reading remains within the specified allowable runout limit; if it exceeds this limit, the disc will need refinishing at an automotive machine shop. Professionals often recommend replacing the discs whenever replacing the pads, regardless of the dial indicator reading, to achieve a smooth finish and ensure a perfectly flat surface, eliminating brake pedal pulsation and other undesirable symptoms. At the very least, if you opt not to resurface the discs, remove glaze from the surface using sandpaper or emery cloth with a swirling motion. It's crucial not to machine the disc below the specified minimum allowable refinish thickness, which is typically cast into the inside of the disc; you can measure the disc thickness with a micrometer. To proceed with removal, exercise caution with 2016 and later Lexus models equipped with an electronic parking brake system. Before removing the brake disc, activate the parking brake system's "pad replacement mode" using a Toyota techstream scan tool or equivalent, which rotates the nut inside the rear caliper piston to allow piston compression for new pads or a new brake rotor. An alternative method involves unplugging the electrical connector from the parking brake actuators, grounding one terminal on the actuator with a jumper wire, and applying battery voltage to the other terminal, all while closely monitoring the piston; if it extends outward (indicating parking brake application), immediately reverse the connections. Proceed to remove the lug nuts used to secure the disc and slide the disc off the hub. If the rear disc proves challenging to remove, it may be due to interference with the parking brake shoes; in such cases, remove the plug and rotate the adjuster to move the parking brake shoes away from the drum surface within the disc, using a screwdriver inserted through the hole (ensure the hole is positioned at 6 o'clock, where the adjuster is located). For installation, place the disc over the threaded studs, install the caliper bracket, tightening its bolts to the specified torque, and then install the caliper, tightening its bolts to the torque. Bleeding is usually unnecessary unless the brake hose was disconnected from the caliper. If installing a rear disc, adjust the parking brake shoes accordingly. Finally, install the wheel and lug nuts, lower the vehicle, and tighten the lug nuts to the specified torque. Depress the brake pedal several times to bring the brake pads into contact with the disc. On 2016 and later Lexus models, apply and release the parking brake multiple times to activate the caliper pistons and position them correctly. Carefully test the brakes' operation before driving the vehicle.
Posted by LexusPartsNow Specialist 

