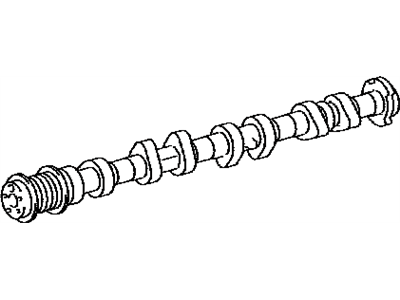
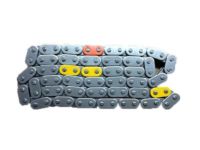
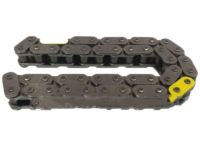
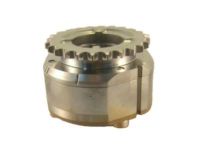
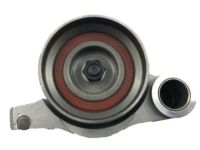
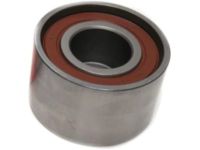
Prior to the camshaft removal, it's crucial to disconnect the negative battery terminal and remove the valve cover. Ensure the engine is at TDC for the number 1 cylinder and mark the timing chain links at the camshaft sprocket timing marks. Loosen the camshaft sprocket bolts while holding the camshafts, and then proceed to remove the timing chain tensioner, camshaft sprocket retainer bolts, and camshaft sprockets while being cautious of the Variable Valve Timing (VVT) actuator's position. In 2009 and earlier models, verify the markings on the camshaft bearing caps, followed by careful loosening and detachment of the caps to remove the camshaft(s). The lifters should also be removed and labeled accordingly. For 2010 and later models, a different process is involved, including the removal of the camshaft housing, rocker arms, and lash adjusters. After removal, thorough inspection of components, including camshafts, camshaft bearings, lifters, and more, is essential, along with measurements to ensure they meet specifications. During installation, apply camshaft installation lubricant to camshaft lobes and journals. In 2009 and earlier models, reinstall the camshafts, camshaft bearing caps, and timing chain with proper alignment, followed by tightening the camshaft sprocket bolts and installing the timing chain tensioner. For 2010 and later models, installation involves placing the lash adjusters, rocker arms, camshaft bearings, and camshaft housing back into position with precise torque sequences. Once camshaft housings are sealed, reinstall camshaft sprockets, timing chain, and timing chain cover. Finally, reassembly continues in the reverse order of removal, ensuring proper camshaft endplay, alignment, and other critical factors are checked before completing the procedure.
Posted by LexusPartsNow Specialist 

